
Adding a new restaurant
Add a restaurant to the portal, from importing it from Google through to its opening hours and booking settings.
Quick setup
Section titled “Quick setup”-
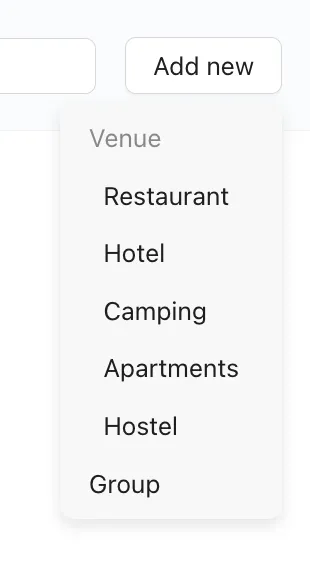
To add a new restaurant, simply click ‘Add new’ in the upper right hand corner of your page and Select ‘Restaurant’.
-
The easiest way to get started is to import your restaurant’s information directly from Google.
-
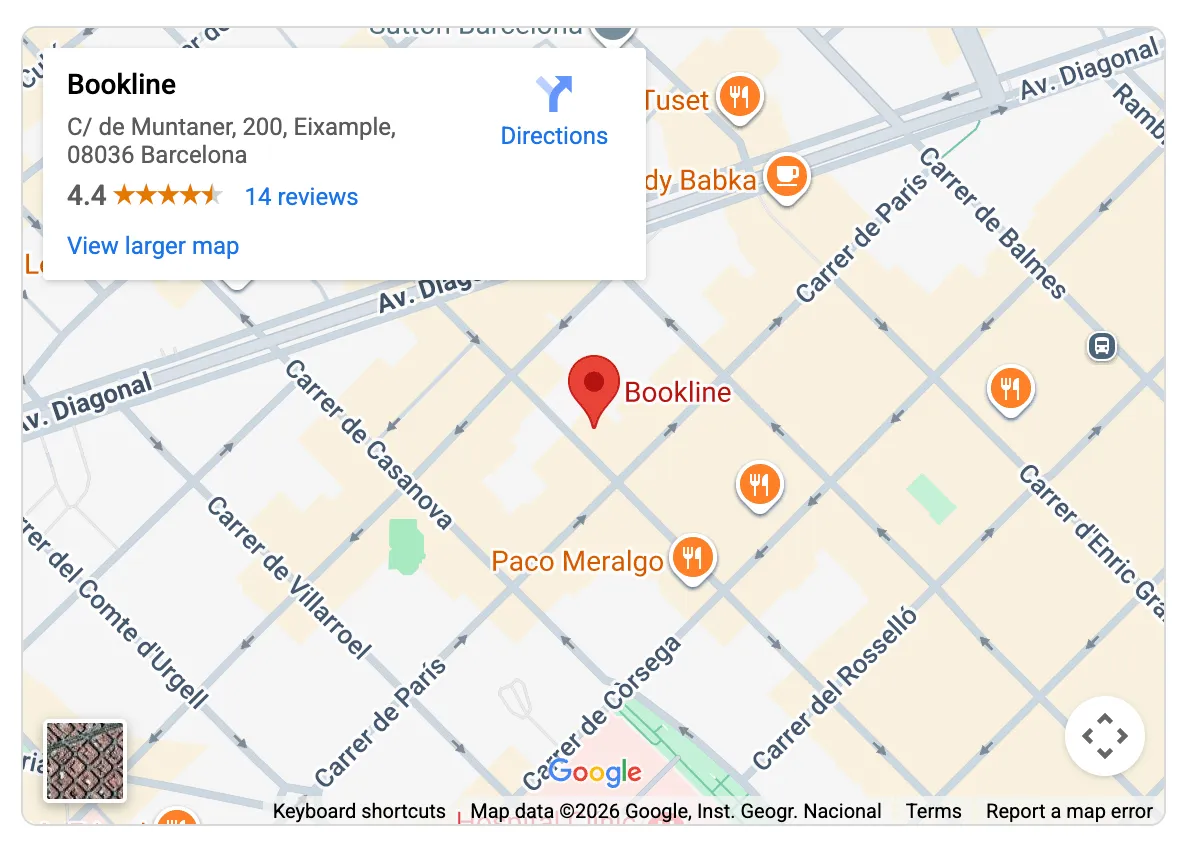
Type your restaurant’s name and location into the search bar to see it appear on the page.
Basic info and scheduling
Section titled “Basic info and scheduling”-
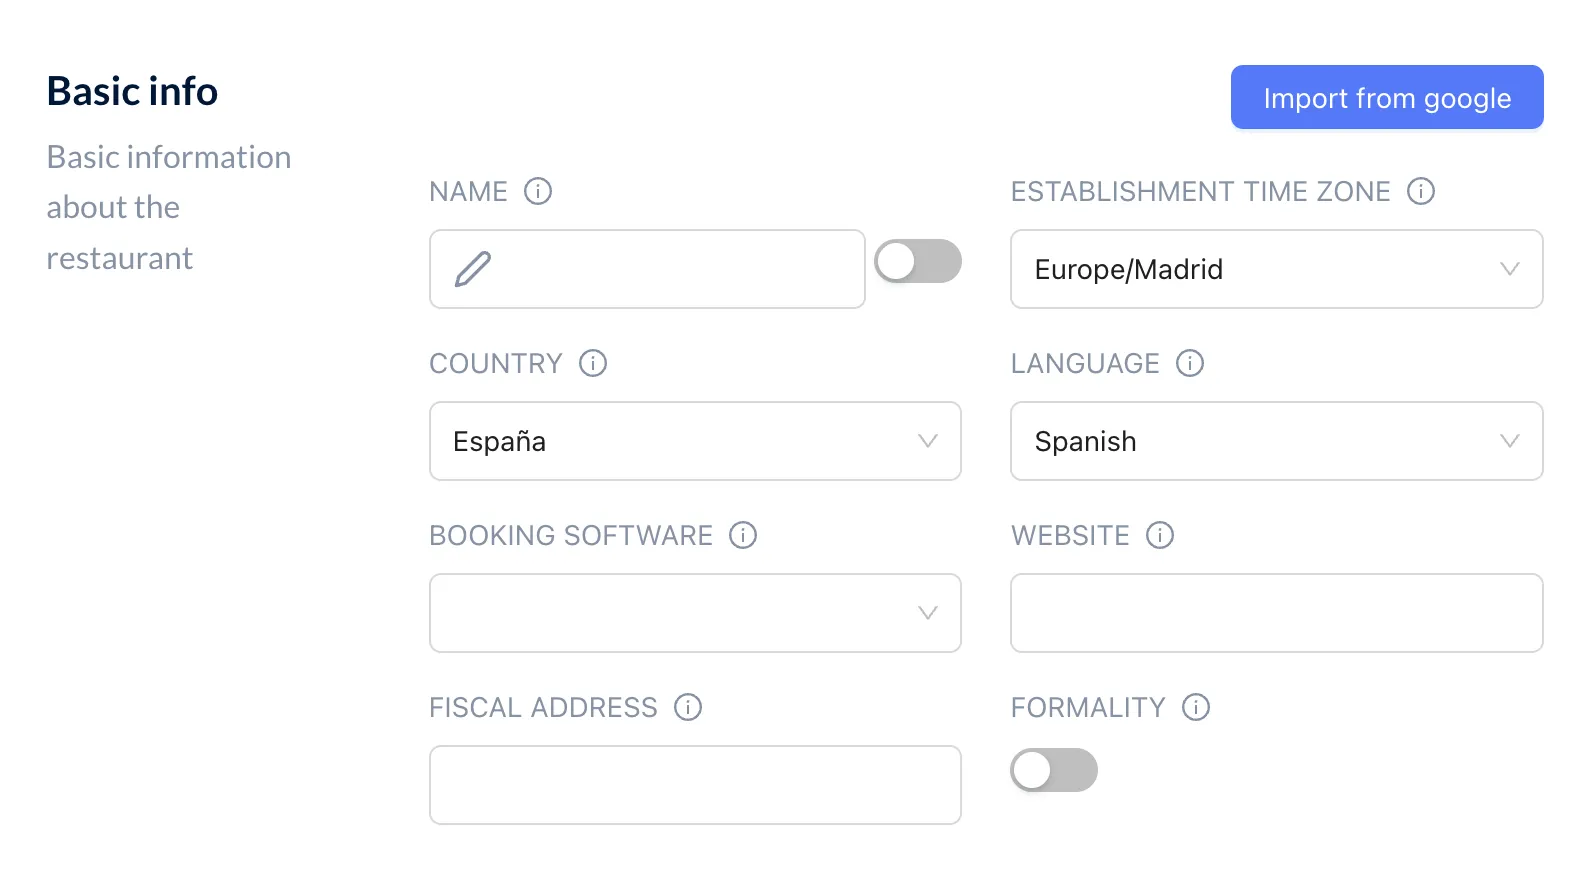
Any missing information such as the Country or Booking Software can be filled in manually.
-
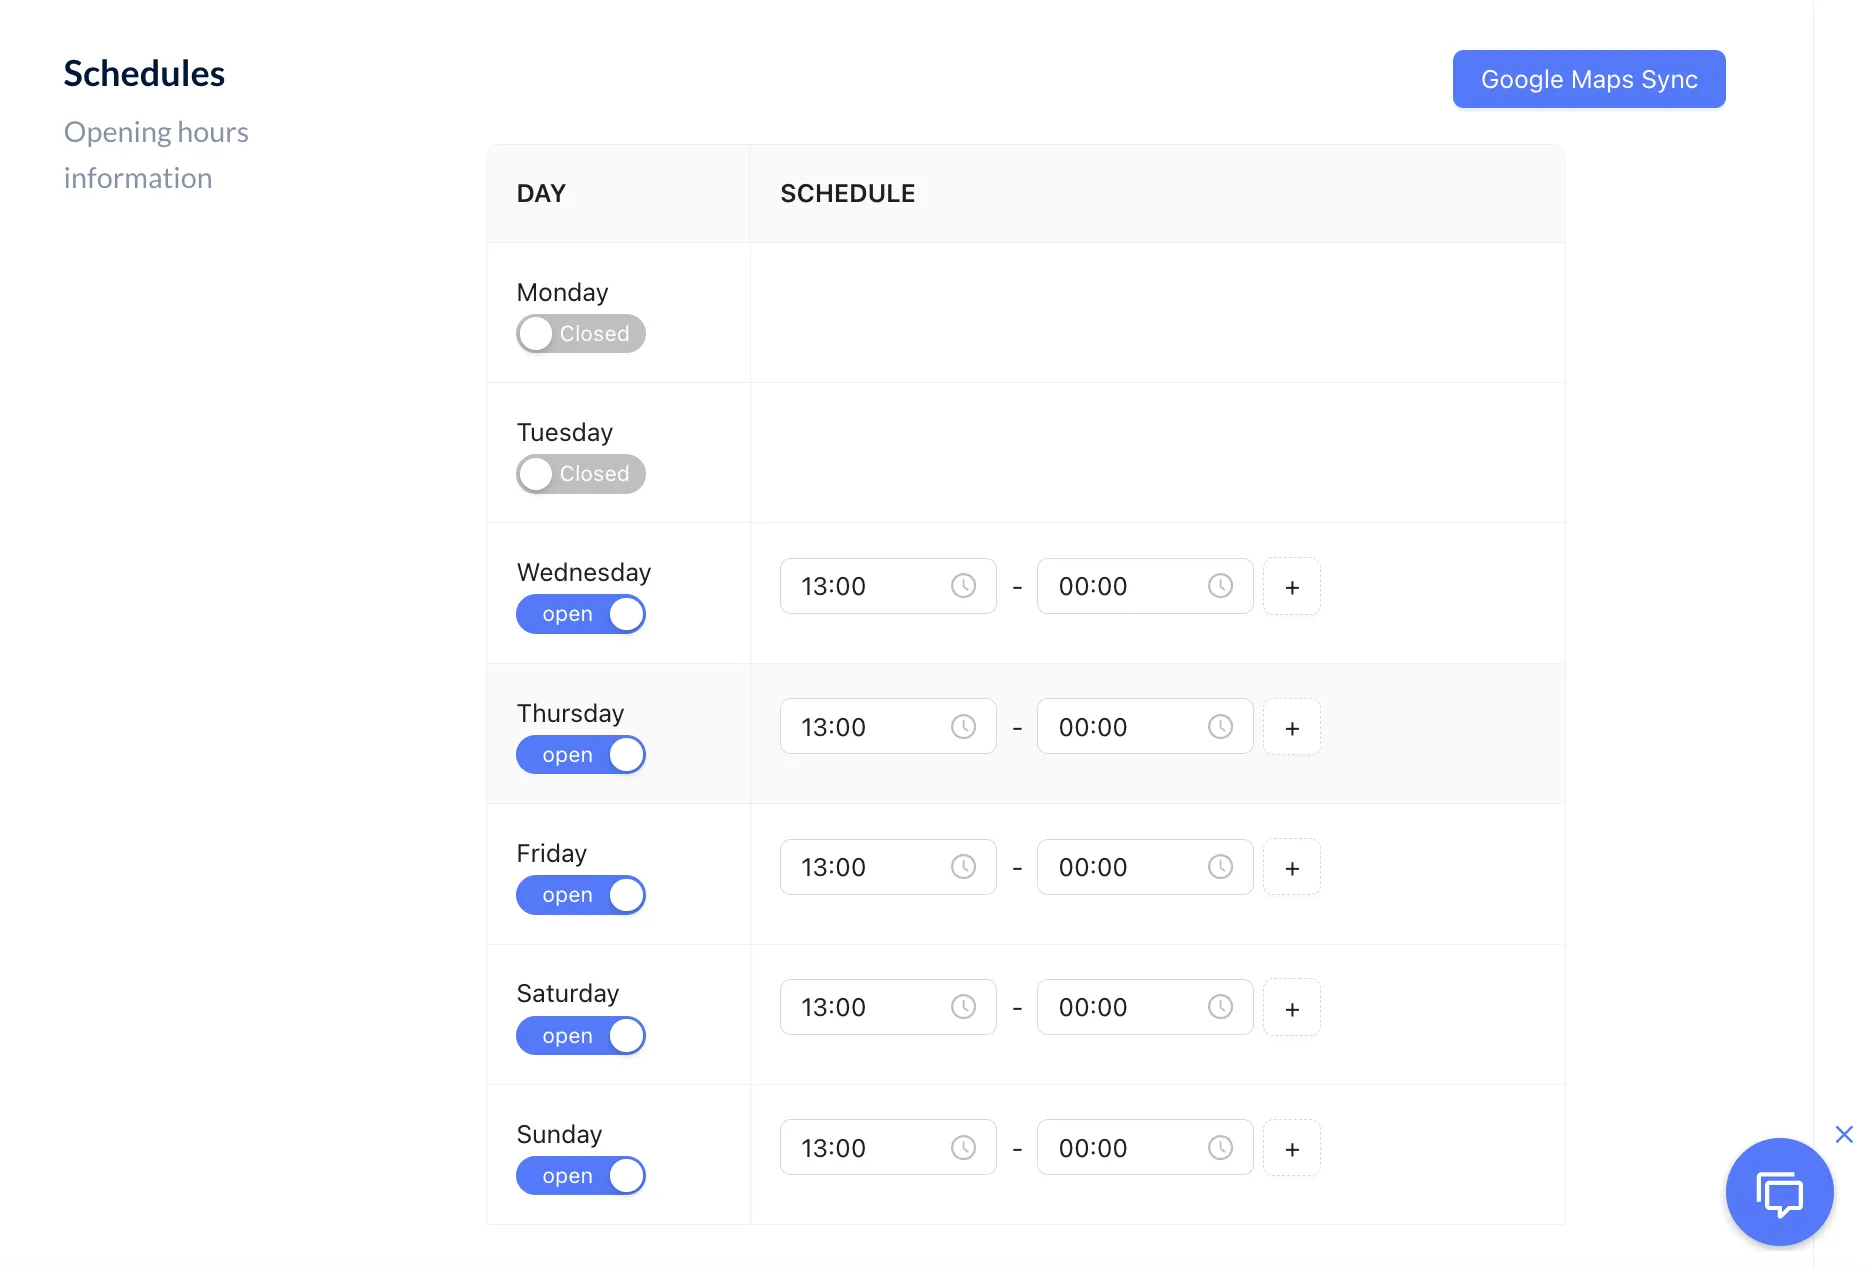
The schedule will automatically sync with the information listed on Google.
-
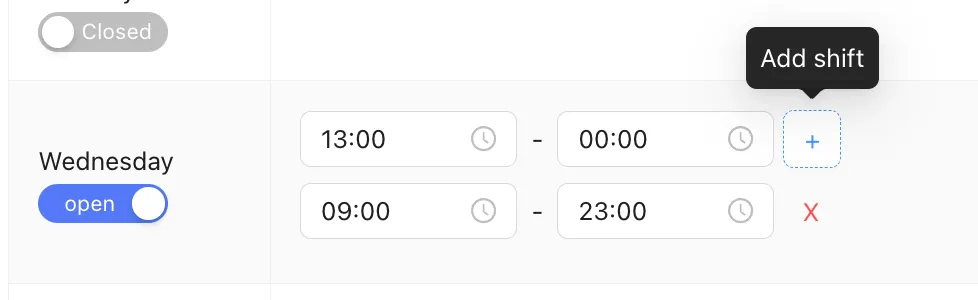
You can add additional shifts at any time if you need to adjust the schedule.
Media and contact channels
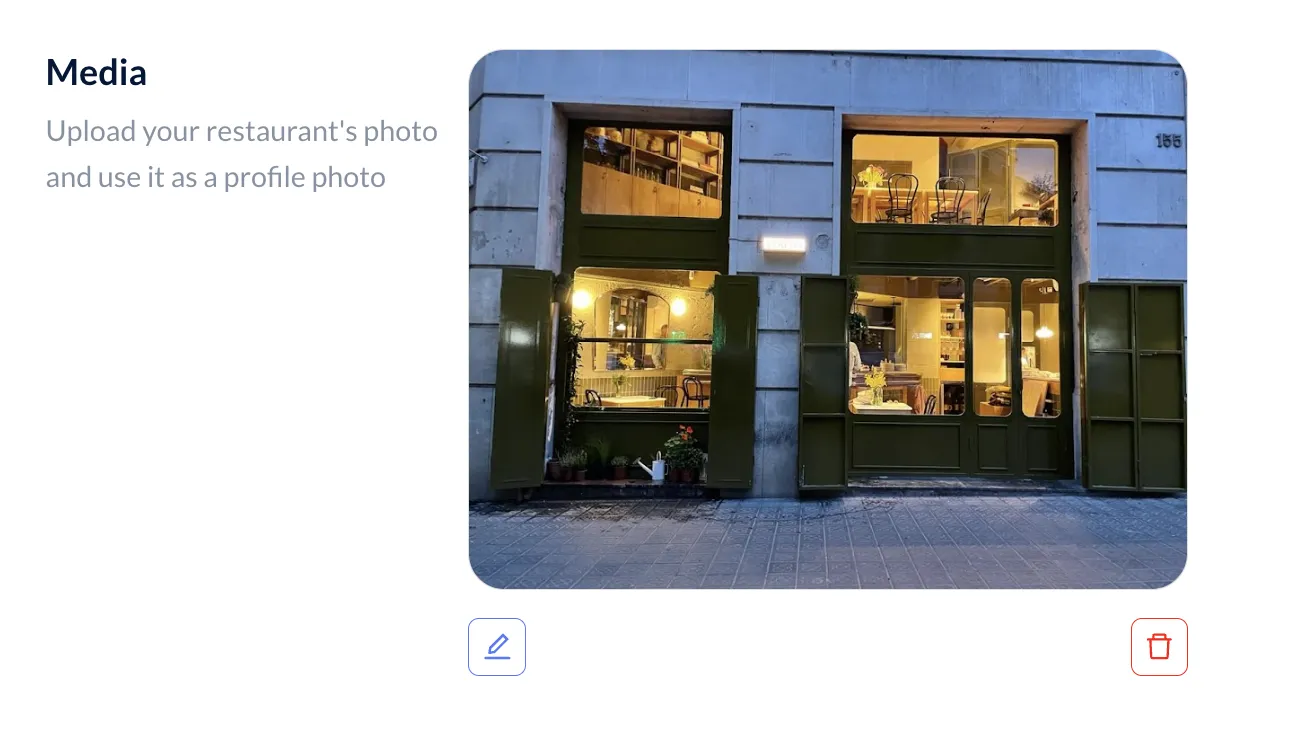
Section titled “Media and contact channels”The default image will be the same as the restaurant’s image on Google. You have the option to upload a different photo if you choose.
If you’d like to share contact information that differs from what’s listed on Google, you can update it in Contact Channels.

Preferences and links
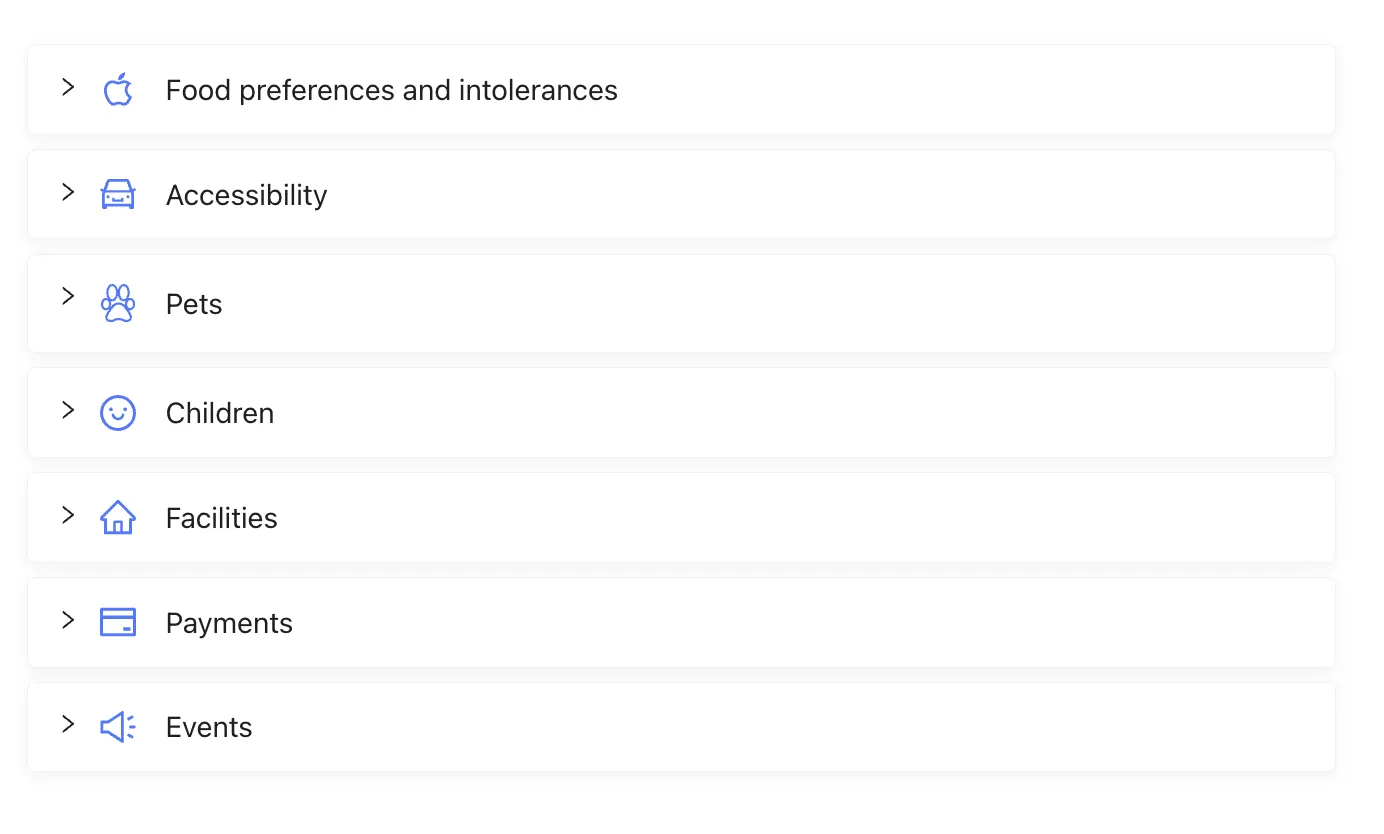
Section titled “Preferences and links”Use Preferences to answer common questions about your restaurant across multiple categories.
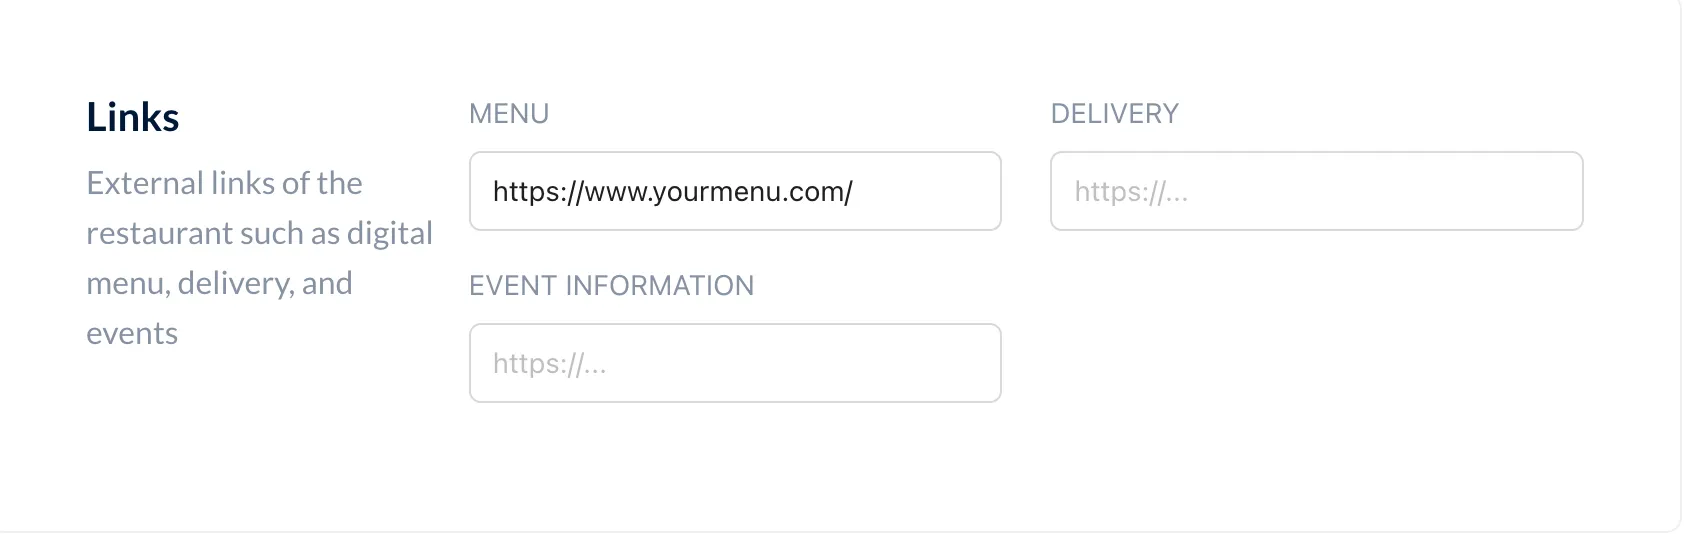
Add external Links for your restaurant, such as your digital menu, delivery site, and event information.
Booking management
Section titled “Booking management”-
For standard Booking management, select the Integration you plan to use and update the Maximum Guests for a regular booking.

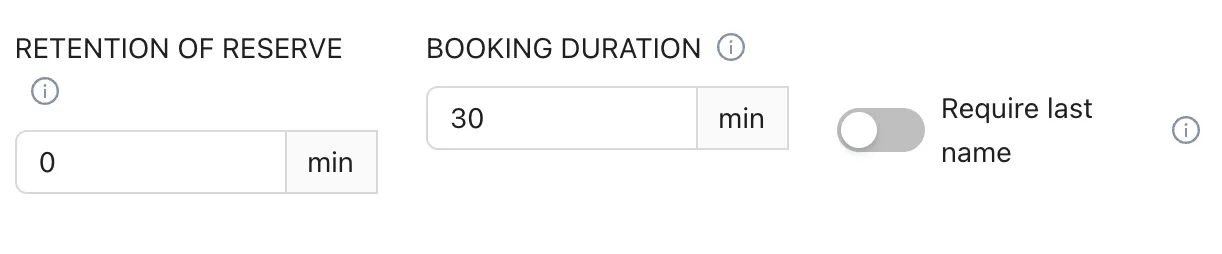
You can set how long a table will be held for a client after their reservation time under Retention of Reserve.
The Booking Duration defines how long a guest can use a table.
-
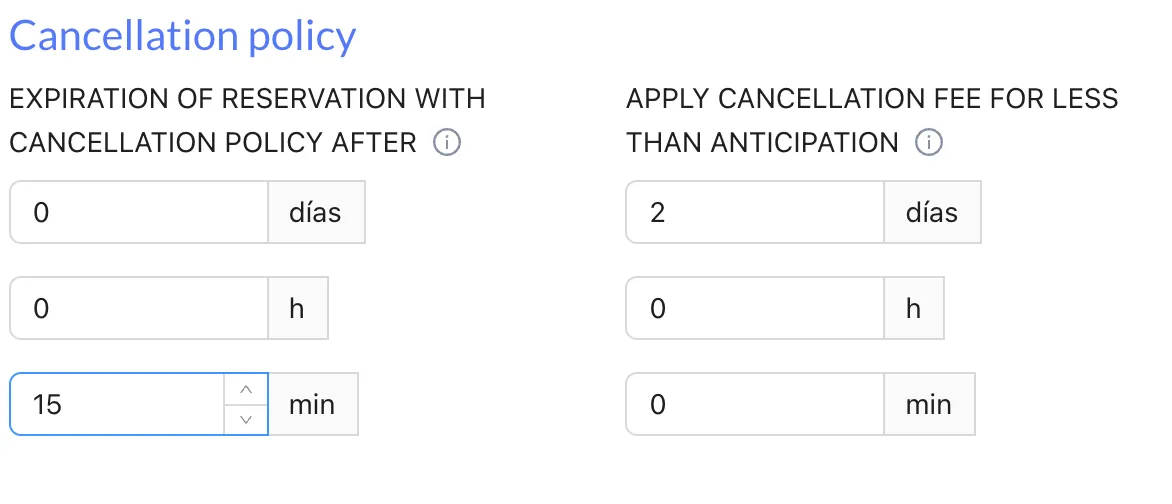
Set the Cancellation Policy which determines when a reservation expires. For example: Bookings more than 15 minutes past the reservation time will be considered a no-show.
You can also define how far in advance a reservation must be canceled to avoid incurring fees.
-
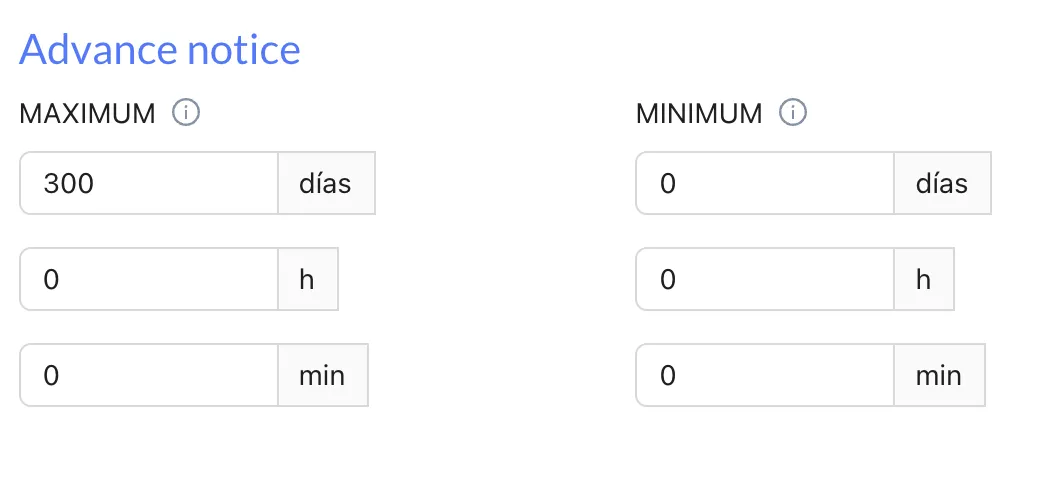
Use Advance notice to set the minimum and maximum days notice required for reservations.
-
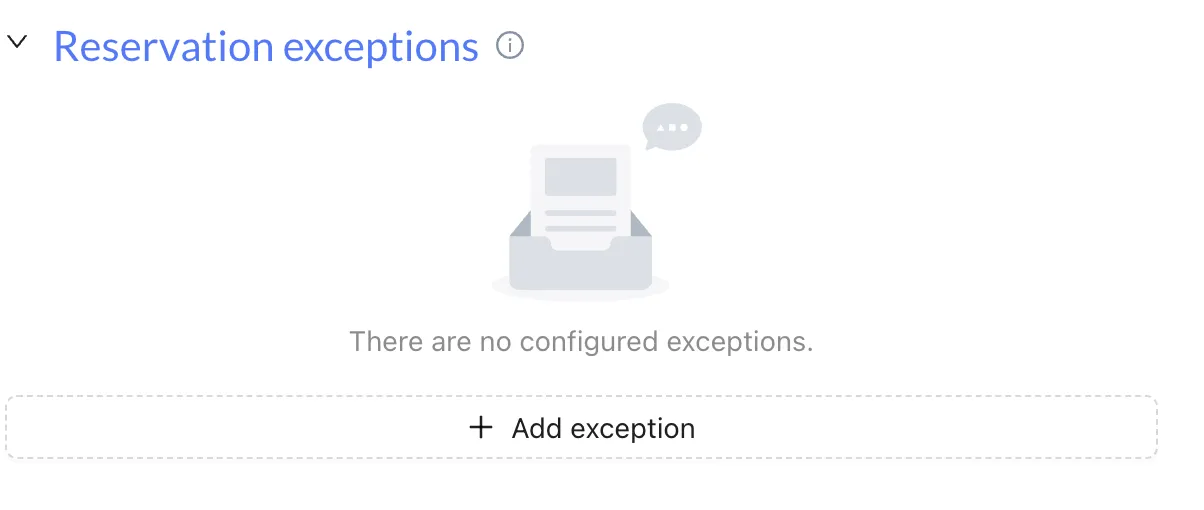
Add a Reservation exception to deny or transfer reservations on specific dates or times.
-
Both Group and Event booking management follow the same format as Standard bookings. Review steps 1–4 if needed.
Knowledge Base
Section titled “Knowledge Base”You can upload documents to the Knowledge Base that contain information you’d like included in your restaurant’s FAQs.
For example, common questions might cover topics such as:
- What are your opening hours?
- Do you offer vegetarian or vegan options?
- Do you accommodate food allergies?
- Is parking available?
- What payment methods do you accept?